Use Film Effects to Stylize Your Edit in Adobe Premiere Pro
Visual Effects Artist Sean Mullen Shows Us How to Use Film Effects to Stylize Your Edit in Adobe Premiere Pro.
Using Film Effects to Stylize Your Edit In Adobe Premiere Pro from Rampant Design Tools on Vimeo.
Sign Up for Our Newsletter and Grab Your Free 4K Effects Today:
[toggle title=”Video Transcription”]Using Film Effects to Stylize Your Edit In Adobe Premiere Pro Video Transcription
All you have to do is:
Hey, hey, everybody. I’m Sean Mullen from RampantDesignTools.com. Today I’d like to show you how you can instantly stylize your edit in Adobe Premiere Pro using film effects. Now what kind of film effects am I talking about. I’m talking about film dirt, scratches, grain effects, vignettes and of course the world famous Uber popular light leaks. Where do I get these you ask. Well, cool. Come on over to RampantDesignTools.com. Look for our studio film effects. Here you can see the promo. You can look at literature and all that and that’s great. I want you to scroll all the way down, boom, and click right here. One-hundred percent free elements given to you by us because we love you. I’m talking free, hundreds of 4K effects. The link is also in the description or you can just jump to 4KFree.com. That’s 4, the number 4KFree.com and we’re giving away hundreds of our high end, high resolution 4K style effects absolutely free.
Go ahead and click that, download the film effects and follow along with us. If you’re interested in this particular library, go ahead and scroll down just a little bit more and click on this PDF sheet. This will give you a representation of every single clip in this particular library, very cool.
All right, let’s jump on into Adobe Premiere. Like all of our tutorials you do not need Adobe Premiere to use our products. We are QuickTime based. We are platform agnostic. We are app agnostic. As long as you can read in QuickTime you can use our stuff. I know right now Final Cut Steph is recording a tutorial for FCPX or Final Cut Pro or Final Cut Pro X or whatever you all call it, and of course, the world famous Kevin P McAuliffe just did a NAVA tutorial using our [inaudible 00:01:38] film elements.
If there’s an app that you want us to use our effects in and we’re not addressing it, go ahead and hit us up an email or leave us a message. We read everything that you all send and thank you so much for taking the time to send stuff. I know someone just asked for Fusion so we’re looking for Fusion [inaudible 00:01:51] film artists right now to demo for you but right now we’re doing this in Premiere. It’s my editor of choice and I love to love it.
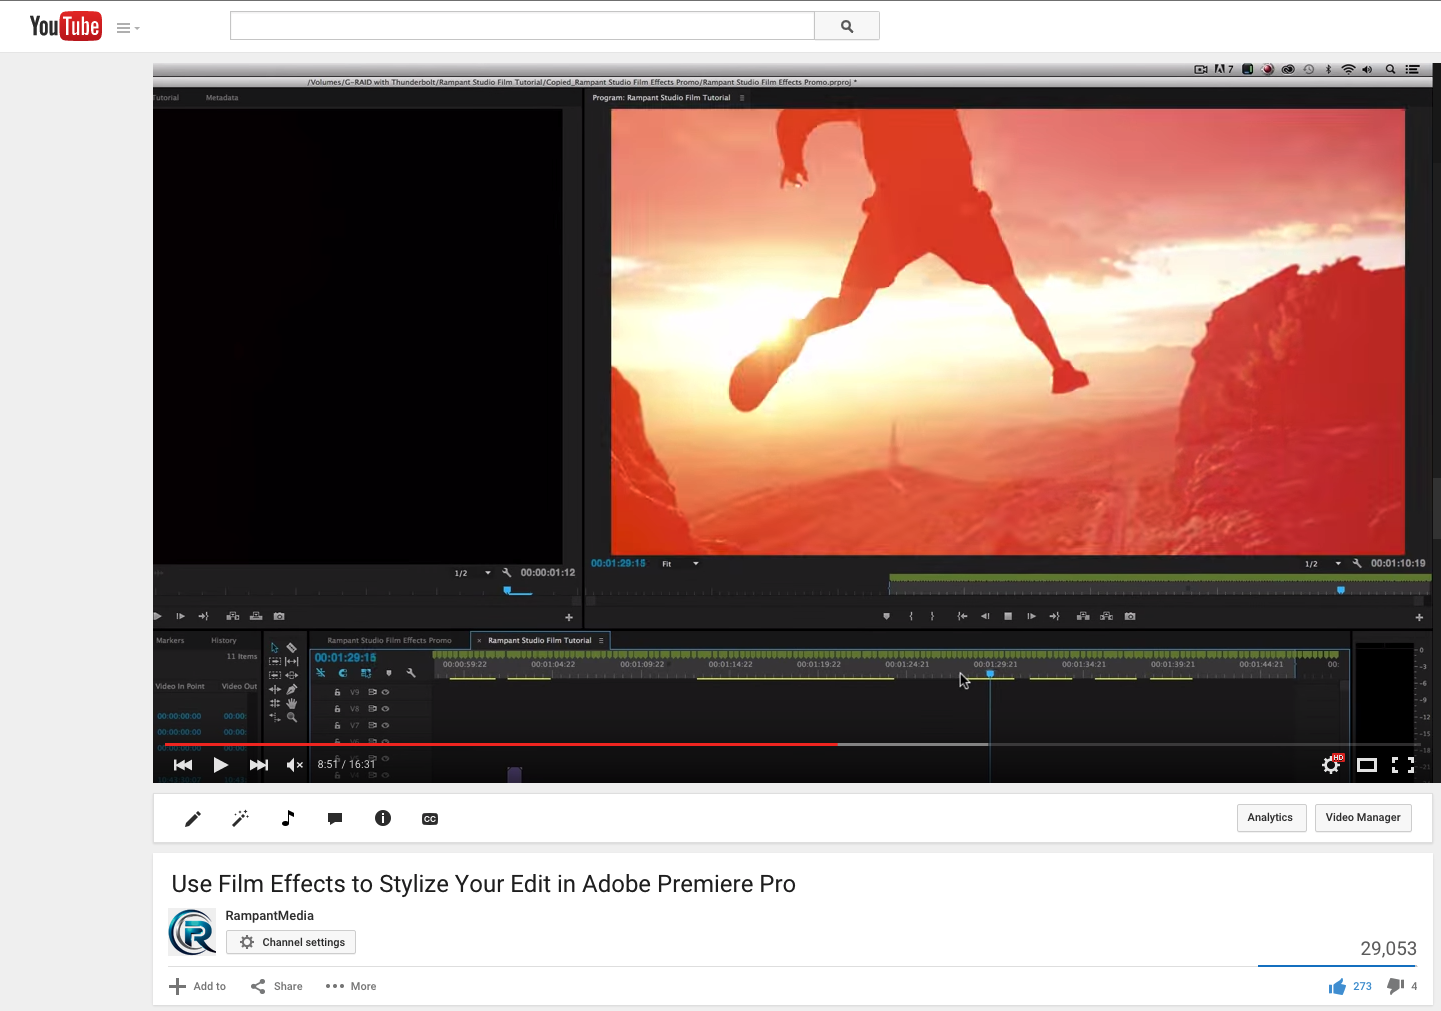
Okay, if [00:02:00] you followed along with any of our previous tutorials you know that our stuff is really simple to use. It’s click, drag, boom. I want to show you the examples we’re going to build here real quick. Now a girl in a wheat field, got some film flashes. You have some grain, some scratches. Very random shots here. Then we move on to … That’s right, let’s do jumping off a rock. Then he’s jumping over the camera again so apparently he landed when he jumped off the rock pretty safely. Got a kid skateboarding and we’ve got a soccer shot. Anytime you need to do a quick film effect, this is the fastest way that you can stylize your footage in any app. It’s literally drag, drop and go.
Let’s go over here to our clean plates here that have no effects on them. Let me show you what I’m talking about. I’ve got some film elements over here from our library. This is pretty cool. Let’s start with this one. It’s got some nice scratches in it and some cool grain effects. We’ll go ahead and drag it right over to my timeline. Oh, oh, I’ve just covered up my shot. What do I do? Well, if you’ve followed along with our previous tutorials, you know that what we’ll do is we’ll double click or single click on it, turn it to … I’m sorry, I’m a double click guy. You don’t need to double click. You can single click. You can change the effects controls, change the blend mode to screen. That’s what we normally do with our elements.
This time around though, this particular set of elements is over white so if I do that, if I double click the element, go to effects controls, twirl down opacity and change the blend mode right here from normal to screen, I’m not going to see my shot. I’m actually going to see the video through the black elements instead of the white. What I want to do is I want to switch this from screen to multiply which knocks out the white and keeps the black values. If I hit play there you go, got some cool scratch effects over top of your footage and the grain as well. Could not be easier. We’ll go ahead and do that again real quick. Show you how simple it is. You just click the clip, drag it over your footage, single click it, go to effects [00:04:00] controls, twirl down the opacity, change blend mode from normal to multiply. That will knock out the white values of the clip.
Now you might be saying, “Okay, cool, that’s great but what if I want to tone it down? This is a little much. It’s distracting from the shot.” No problem. Make sure you clicked on that clip in your effects controls and take opacity and if the key frames on, you’re going to want to turn it off. Just dial down the opacity here. It’s whatever you like. Let’s do it at 35%, roll it back and that’s a little more subtle. You don’t always have to be overbearing with our effect. The idea is to compliment your video and not destroy it.
On that being said, let’s say no, no I want to get crazy. Go ahead and put that back up to 100 and go ahead and alt click or option click your clip and pull it up which duplicates it. That, as you can see, we’re starting to get very heavy on the effect. For argument’s sake let’s just get rid of the crazy and do it a couple more times and just get nuts. As you can see there’s tons of noise here, the scratches are outrageous and this is very accentuated. Obviously, you do not want to do this unless it calls for it. I don’t judge. Let’s go ahead and remove three of the four clips, back down to what we were before, back this up to the beginning of the shot here and go back to where we were.
Now the one thing this is missing is the all famous, oh so overused light leak but used properly it’s great. I just again I don’t judge. It’s all good. We’ve got some really cool light leaks here. These are all real. It’s important to note that our light leaks and our light elements, I personally create those and I will never create them in the box. I use real lights, real glass, real cameras. That’s how I was taught how to do it and I still contend to this very day that real light beats CG light all the time.
Let’s go ahead and this looks cool. Go ahead and click and drag and put it right over here. This is just like all of our previous tutorials. This is a light element on a black frame so what do we do? We click on it, go to effects controls. This time we go ahead and switch our opacity blend mode from normal to screen. [00:06:00] You can also do add or linear dodge as they call it in Premiere. You’re going to get a much more burn effect but if this is for broadcast I’d be wary.
Just go ahead and put it in screen or you can get crazy and do overlay which is going to give you some really cool effects. I mean I love overlay. It’s one of my favorite most misunderstood blend modes but you can really do some really beautiful stuff with it. For this sake we’re going to go ahead and put it overlay to screen, roll it back. See now you’ve got this cool film flash with our film effects. It’s literally two steps. Drop your film effect on. Switch it to multiply. Drop your light leak on it. Switch it to [inaudible 00:06:39] screen. You’re done.
Now let’s check this out right here. There’s this cool cut here. I want to mask it a little bit. The other great thing about light leaks is they’re great transition elements. Let’s go ahead and find … This is a good one. Go ahead and drag this clip right over the edit. I don’t know exactly where I am. It’s okay. Just go ahead and double click on the element, click effects controls, twirl down opacity and switch blend from normal to screen. Let’s roll it back and see if we covered the edit point here. Yes, we did. See so light leaks can be design elements or great transitionary devices.
Now, what if you’re doing this a lot? What if you’re in this big edit. You’ve got a five minute, ten minute, thirty minute piece, whatever and you don’t want to keep clicking on the element, going to blend mode, changing it to screen. That’s going to get annoying. Gone are the days where you can right click and pick your blend mode. What do you do? Well, you just grab your film element. Let’s just pick some random one right here and that’s cool. See oh, yeah. Let’s go ahead and click on one that you’ve already done in the past, highlight opacity and hit copy. Go over to your new element that you have not keyed, that you’ve not blended, and hit paste, boom. If you have lots of elements in your timeline and you don’t want to keep going back to the effects control panel because it’s a lot of work. You have to [00:08:00] move your wrist all the way over here to the left and twirl and click. I get it. Just go ahead and hit copy and paste and you’re good to go.
All right, I’m pretty much sick of this wheat field. Let’s jump on over to another shot here of this dude jumping off a cliff. I have to say kudos to stock footage guys when they get their friends like, “Dude this is going to be awesome. I just need you to jump off this big old rock.” All right, this is a speed ramp shot as you can see it goes from fast to slow. We’d like to put a light leak on top of that. No problem. If you’ve done this effect once you can do it a thousand times. Let’s go ahead and find one that we like. That blue’s pretty cool but I wanted something a little bit more, yeah, a little more aggressive. Go ahead and click that clip, drag it over the top of the timeline. We can hit paste because we already copied the blend mode from the previous clip, aha. Then roll back. There you go.
If you don’t like that, the great thing about Premiere, you just roll it back. If you’re like, “Yeah, that’s cool but I want to try something else,” just highlight the clip in your bin, click and drag it over your other clip and hit the alt key or the option key. Boom, you’ve just swapped it out. Now if one clip is longer than the other you’re going to get this thing right here. It’s just saying, “Hey, this portion of the clip does not exist,” but it’s all good. Roll it back and you’ve now just switched it, or you can hit undo and go back to the one you had previously, or like just keep trying. Just, that’s pretty cool. You just keep doing this all day long until you get the one you like.
If you’re in an edit session where you’ve got someone behind you who feels like driving, backseat driver or producer or just someone who just feels that their kid has Final Cut so they can edit too, whatever it happens to be, again I’m not judging. You just keep doing this until you get the look that you’re happy with. It’s a great way to audition clips or make someone behind you happy, cool.
Of course, if you want to add a film effect to this, [00:10:00] let’s find something a little bit more aggressive. That’s cool, you got a nice vignette, some dirt. Go ahead and I’m going to bump this up a little bit. I’m going to put the film underneath it and cinch it up to the edit. This one I cannot copy and paste like I did before because again that will apply the screen mode, and you’re going to key out the black values and leave the white values. We do not want that. We actually want the opposite. Go ahead and click on that. Quick go over to effects controls, twirl down opacity from blend mode normal to multiply, getting rid of the white values in that shot. Roll it back and there you go. Again, this is really super simple. Like I always say, if you do this once you can do this a thousand times. You literally just drag your film effect over to the clip, cinch it up, turn your opacity blend mode normal to multiply.
Now the cool thing about these elements is I’m at a 1080 timeline but I’m using 4K effects. That means I have a lot of latitude to play with. I mean these effects are much, much larger than the frame that they were covering so what I can do is a couple of things. I can shrink it down. I go to my motion tab and I hit scale. I can go all the way as low as 50% so I can make my scratches and my grains smaller if I think well, they’re too big, or if I undo, go back to 4K, I can reposition the shot. Now I can move the grain and and scratches around if I feel like it’s in the wrong spot.
I can even get a little bit more wild and go ahead and duplicate that clip and then make adjustments to each and every one. If you want to start making things different and creating your own effects by stacking, let’s go ahead and reposition this one here, over here. I don’t want it to be the exact same animation. If I hit space everything’s going to do the same thing just in different portions of the frames. Let’s get even more wild here and slip the edit just a little bit. [00:12:00] Now I’ve just created my own custom look. Again you can treat this one down and you can repo. You can do whatever you want to make your own custom film effects that you like that work for your edit.
Cool. Let’s go over to the skateboarding guy. At this point I’m just taking up air time. Literally the exact same setup, go ahead and drag this over here right on top of my skateboarder. Switch the blend modes from opacity to multiply. I can go ahead and add a film flash tonight. Let’s find that cool blue one. There we go. It’s neat. It’s more of a design element. I’m going to put it right in the middle because I’m crazy like that. Effect control is opacity. Dial it down from blend mode to normal to screen and let’s roll it back. Now you can use film flashes as just a design element. You’re like, “Well, that’s not very bright now, is it?” Okay, well, we can double it up just like we did before. That’s cool. We could also mix and match. Where’s that … There we go. Let’s put this one at the top of the edit. Go ahead and click on it, effects controls, opacity, blend mode normal to screen. There you go.
You can get really funky with this and layer it all you want. A lot of music videos and skate videos and other sports videos really layer this up. There’s nothing wrong with that. It looks cool. It makes a pretty unique effect considering it’s a pretty random and boring skate shot.
Of course, our very last shot here is our soccer player. Again I’m just going to go ahead, I’m going to mix and match the these film [00:14:00] elements so I can customize my own. I’m going to start with the regular film dirt and scratches that you see. I’m going to effects controls, opacity, blend mode normal, multiply. That’s cool but now I want some grit. I want some stank that some people call it. I don’t want to go through that process again so I’m going to go ahead and hit opacity and paste. Now I’ve mixed these two film elements, very cool. Let’s just get crazy, might as well. Might as well, it’s the afternoon, who cares. Your producer’s not paying attention so you go ahead and drop this right on top of your other clips. You get even more buck wild. Hit paste.
Now you’ve really layered this shot but of course it wouldn’t be complete without some crazy film flashes. Let’s use this one, hasn’t been used before. Go ahead and click on that, effects controls, opacity, blend mode, screen. Let’s throw another one on here just for fun, yes. Of course I don’t want to do that again so copy and paste. After stacking my film effects and adding some light leaks you’ve got this cool flash, pretty cool stuff.
All right so that’s it. I mean really only have to show you one example but I showed you a couple and how to stack them, how to reposition them. Once again go to 4KFree.com, tell your friends, giving away hundreds of 4K style effects because well, we love you and we want you to know that we love you. Please subscribe to us on YouTube. Please follow us on Vimeo. Go ahead and go to Facebook.com/RampantMedia. Follow us on Twitter, Twitter.com/RampantDesign. Hit us up on YouTube. Like I said before YouTube.com/RampantMedia. [00:16:00] Whatever your favorite social platform is we’re there. We’re on Tumblr. We’re everywhere. Hit us up and follow us on Instagram at RampantDesign.
Follow us. Tell us what you think. Ask for tutorial requests. We get them all. We read every single message and we love each and everyone of you. Thank you so much for your time and remember 4KFree.com and that we love you. Until next time I’m Sean Mullen from RampantDesignTools.com. Thanks for watching.
[/toggle]
