Use Animated Mattes to Stylize Your Edit in Adobe Premiere Pro
Visual Effects artist and Rampant Design Lead Creative Sean Mullen shows us how to use animated mattes to instantly stylize your video in Adobe Premiere Pro.
Use Animated Mattes to Stylize Your Edit in Adobe Premiere Pro from Rampant Design Tools on Vimeo.
Sign Up for Our Newsletter and Grab Your Free 4K Effects Today:
[toggle title=”Video Transcription”]Use Animated Mattes to Stylize Your Edit in Adobe Premiere Pro Video Transcription
All you have to do is:
Hey everybody, I’m Sean Mullen from RampantDesignTools.com and today I’m going to show you how to easily stylize your edit using animated mats. The mats I’m going to show you how to use, are called Studio Mats from our company Rampant Design. I created these mats because a lot of my friends who are editors, and these guys work on everything from national spots, reality shows, hunting shows, shows about rebuilding old vehicles, things like that, and music videos, everything you can think of, corporate videos, weddings.
They, a lot of the times come up to me and say, “Sean, I don’t have time to necessarily design a look for every piece that I’m doing.” You know, either budget constraints, time constraints, producer wants something yesterday. Whatever it happens to be. Ultimately, they want to deliver the best product that they can but they don’t necessarily have the time. That’s where these mats come in.
I created over 400 different mats of all different kinds of styles that you can easily drag onto your time line and and within seconds come up with a unique look. I even have a good buddy of mine over at Hard Rock who uses these mats purely just to do a, what he calls Rapid Prototyping so he can get the client to approve the look and then he goes back and builds the things himself. That’s great. These tools are designed to help you get your job done more quickly and more efficiently and hopefully be more profitable.
Let’s jump on over here to our website real quick and I’ll show you the product that I’m using. You go to rampantdesigntools.com and if you scroll down, these mats are called Studio Mats. This is the particular product that I’m using. Like I said, there are over 400 of them, they are offered in 2k, 4k, and 5k. If you bought them from us, great, you’re my new best friend. If you haven’t it’s okay too. You don’t need to buy these mats to follow along in this tutorial. If you check the link below in the description of this video, you will find I’ve given you a handful of free 4k mats for you to play around with and you can see if, you know, the kind of quality that we offer and whether or not they can work for you.
Nothing is better than free 4k goodness. [00:02:00] Go ahead and grab that link, download it real quick. It’s only a couple clips and you can play along with us and see what you think see, how they work for you. That’s enough of that let me jump into premiere and show you what I’m talking about.
Now, before I do anything in premiere, I do want to let you know that this does not require premiere to use these mats, you can use any editor and any motion graphics app or compositing app that you have. As long as you can read a QuickTime Movie, you can use these mats. The great thing about these mats is they’re QuickTime based. Like I said, you can use them anywhere and they are Hicons, so if you get our ProRes version, they do come with mat alpha channels but you don’t necessarily need that because they’re Hicons. No matter what software you’re using, whether you can read an alpha channel or a luma channel, you can use our content.
Like I said, there are over 400 of these things and they typically have an animation on, a hold and an animation off. These ones are 4k so they’re huge. They are much bigger than my 1080 time line here, so I can scale and reposition them to get exactly the look I need. Or, I can just fit the frame and use them as is. That’s the great thing about these products.
Let me go over here and show you what I’m talking about. I have an edit here that I’m pretty happy with. It’s a wedding montage and the footage was shot and provided to us by the wonderful people over at Joel Evans Productions and Eva Productions. This is pretty cool but you know when I’m putting a piece like this together, I really want to give it some style. This is the opening to a show and it’s a reality thing. I’m just like, “You know, it needs to feel better.” This is going to be part of a main title and all the footage is great. It just needs a little bit of something extra. While I’ll eventually mix in audio and music notes and things like that, it still needs that little pop visually.
Here’s where my style mats come in. Let me roll through here and show you what I’ve done with our mats. Now I have a piece that’s a lot more stylized and helps with the flow of the video. It gives me a great little place for my graphic as well. This all took 15 Seconds to build. That’s the kind of thing that I’m talking about this is designed to [00:04:00] have you very quickly and efficiently piece something together that will hopefully make your clients go, “What!”. You know, or at least, “Hey cool.” We are aiming for the, “What!” If they don’t, hit me up on Twitter and I’ll make sure I give you some “What” factor.
All right, so how do you do this? First, let’s go to our first shot here and here are my clips. These are the 4 clips that are in the free link so you can follow along here with your own edit.
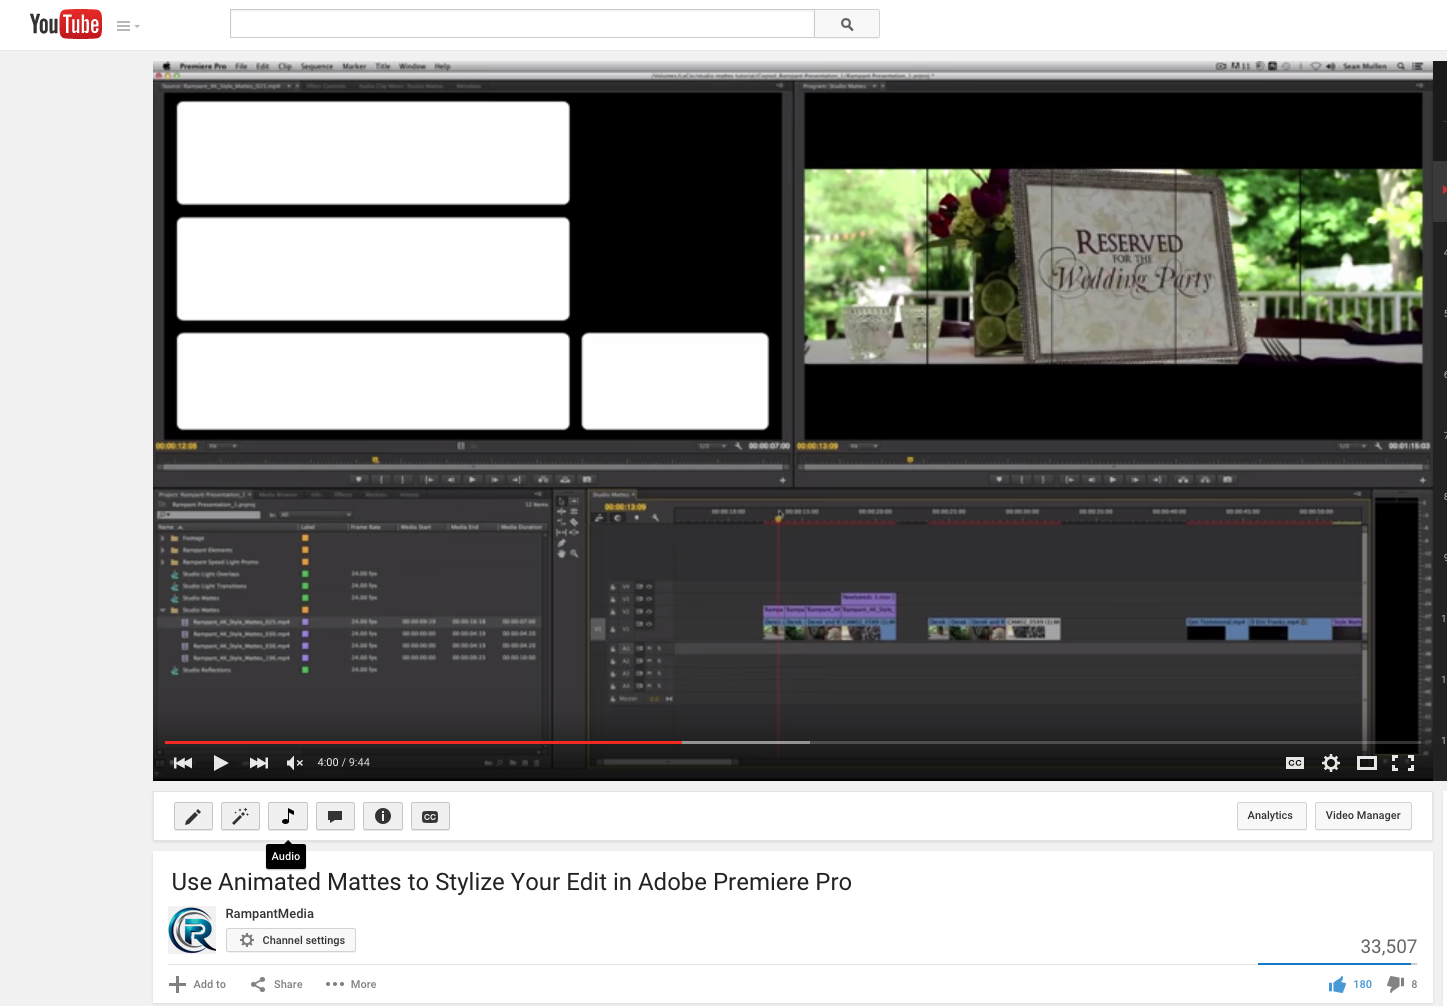
All right, so the very first clip I think I’m going to use is this one. It’s these cool boxes that animate up, hold, and eventually die back. All right. Like I said, these are 4k so when I drag this over here its huge. See, much different than here. What I want to do first, is right click and hit scale to frame size. Now it fits comfortably in my 1080 timeline.
Now I’m seeing white boxes on a black screen. That doesn’t help me. Double click on the clip on the bottom right here on video track 1. We’re going to go over to our effects, and go under key and we want to use track mat key. Double click on that. Then, under the effects control here you’ll see track mat key. This is pretty simple, there’s not very many options. You can use the mat alpha or mat luma. In this case we’re going to be using luma. Then it says, “Well, hey, where’s the mat?” The mat’s on video track 2. Boom, oh, all of a sudden I’ve got this great footage stylized. Well, that’s pretty cool.
Let’s pull this clip to match the edit here like so. Now I’m back to my traditional footage, that’s great. I don’t want to have to do that for every single time I’m using a clip that wasn’t mat. I’m going to go over here highlight it, copy it and I’ll add all these clips, and paste. If I double click on any of these clips, under the effects controls, you’ll see that my settings for track mat are here and here. Now, anytime I put anything in video layer 2 that has a luma, it will fill it with the effect. If I move this over here real quick, boom. [00:06:00] I’ll move that clip back and let me drag another clip in here and finish this edit. Go back over to my bin, drag my file over here.
Remember, these are 4k so that’s why it looks this way, because it’s so much larger so I’m going to go ahead and I’m going to scale to frame size. I could scale and reposition and really design this look if I wanted it other than how it comes in traditionally because of the 4k. We’re already getting this great little edit going here. I’ll just keep working on finishing the edit here. Right click, scale to frame size and I’m good to go. We’re in my last clip here. All right, so if we roll this back and we hit play, we now have a stylized edit that literally took under a minute to do for all those clips. That’s because I was talking, if you were comfortable with these mats, you can rip through an entire sequence in a matter of seconds.
There’s even room here for my graphics that I had over here. I just copy that, move this over here as my little, we’ll call this fictitional show Who Wants to Get Hitched? Now, if I roll this back, you have an instant stylized edit and it took no time whatsoever.
Remember, these are all boxes. There’s over 400 of them and there’s things from very simple designs, like these boxes, to a little bit more crazy designs that we have people using in music videos. We were in NAB this year and a buddy of mine pulled us over and said, “Hey, check out these screens here in Vegas.” They showed us our animated mats are being used on the big screens out on the strip, as well as the screens inside the casinos. He pointed some of the spots out. They’re using all kinds of stuff.
There’s a very famous night club that just recently [00:08:00] opened and they are using our mats to promote their content, which is great. Let me just show you some of the things that our customers and our clients are using with this content. This right here is a shot from Eva productions that she uses in her wedding videos. This shot right here is from my buddy Eric Franks. He’s over at Hard Rock and, like I said, he uses our stuff to rapid prototype a look. Let me show you that again. This is a look that he was trying to get approved for a promotional piece that he was doing for hard rock.
Here’s some other things that are thrown together as examples of the different kinds of shapes and textures that we have. We’ve done some for music videos people have you start stuff for clubs, like I said. Some of these designs are a little bit more modern. We have everything from very traditional to very modern and everything in between.
Here’s a great example right here of using multiple clips in each box. We’ve got three different clips, this one is the same as this one. You’ve got this and this and so you can really stylize and use this as a style frame or as part of your motion graphics projects. This is a great way to illustrate something during an edit.
Again, this took just a minute or two to build so through the studio mats, they are very easy to use. They’re quick and simple and there’s over 400 of them. That’s about it, thanks for watching. If you have any comments, questions, or tutorial requests hit us up on Twitter at RampantDesign or check us out on Facebook at Facebook.com/RampantMedia. Of course you can find more tutorials at RampantDesigntools.com. Until next time, I’m Sean Mullen from Rampant Design. Thanks for watching.
[/toggle]

how can i add a different clip to each box? like the hard rock promo? thanks
Hi John,
Please see this tutorial: https://www.youtube.com/watch?v=rC5tLZJdYV0