Use Optical Light Overlays to Stylize Your Edit in Adobe Premiere Pro
Visual Effects artist and Rampant Design Lead Creative Sean Mullen shows us how to use optical light overlays to instantly stylize your video in Adobe Premiere Pro.
Use Optical Light Overlays to Stylize Your Edit in Adobe Premiere Pro from Rampant Design Tools on Vimeo.
Sign Up for Our Newsletter and Grab Your Free 4K Effects Today:
[toggle title=”Video Transcription”]Use Optical Light Overlays to Stylize Your Edit in Adobe Premiere Pro Video Transcription
All you have to do is:
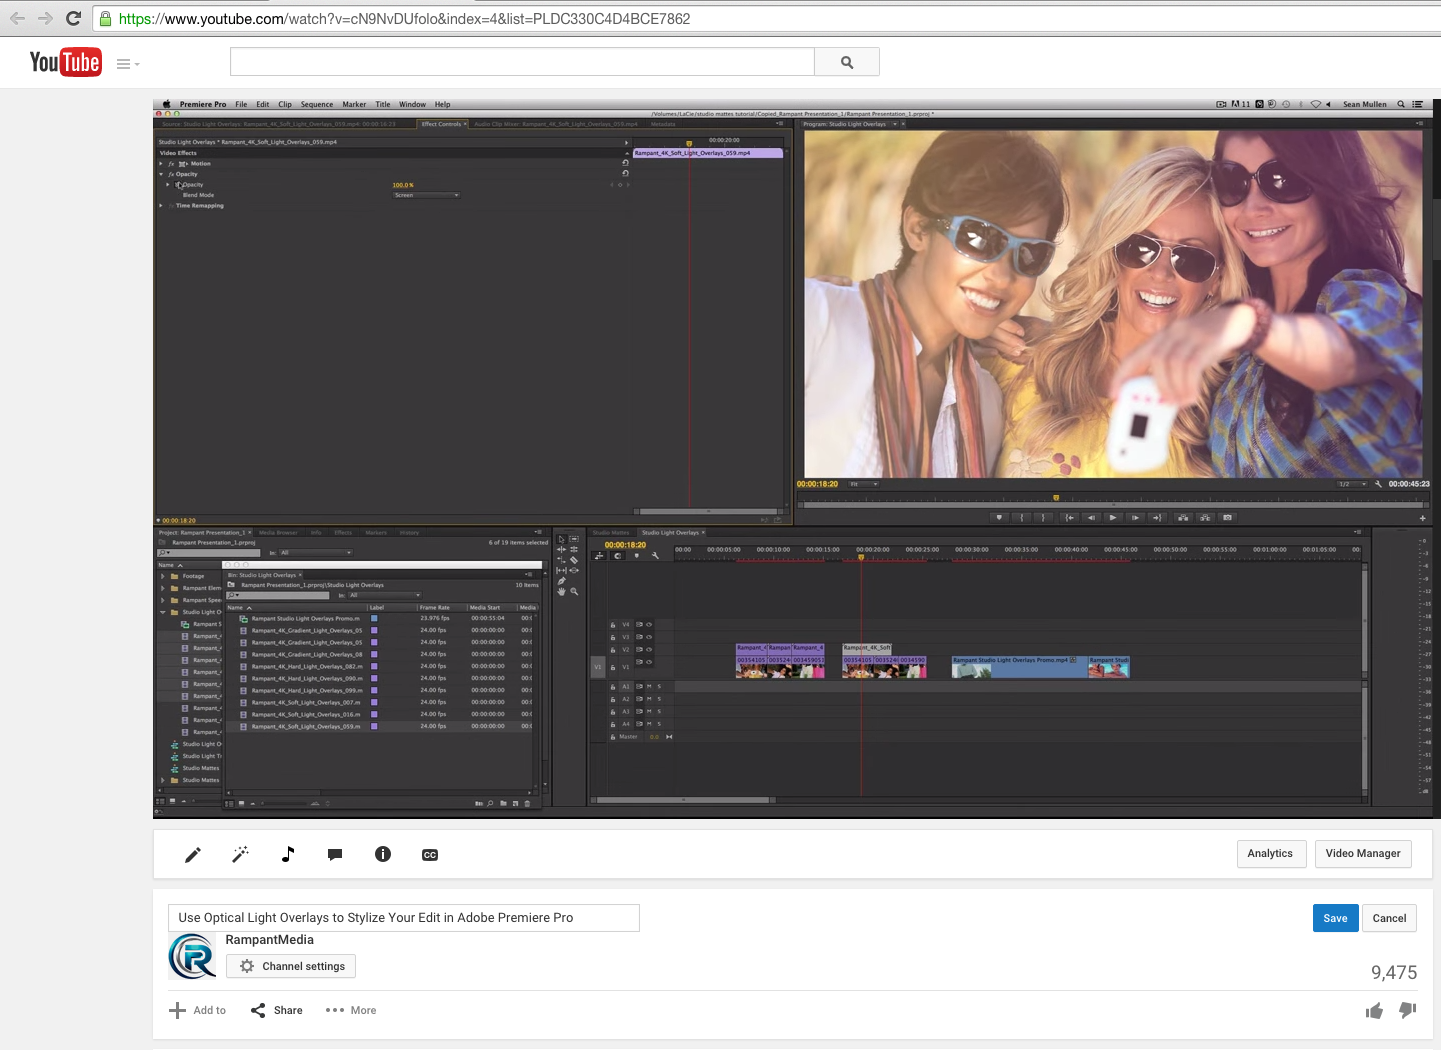
Hey everybody I’m Sean Mullen from rampantdesigntools.com. Today I’m going to show you how to instantly stylize your video, using optical color overlays. Now what are optical color overlays? Well that’s a mouthful right there. It’s exactly what it says. These are light effects, that were shot on camera, that you can drag in a quick time format, over your timeline, use a blending mode, and you now effected the look and the color and the feel of your video. It’s that simple.
These are the overlays I’m talking about. These are from our company Rampant Design, and I shot these on the Red Epic, and these are 5K, 4K, and 2K. There’s over five-hundred of them. You have plenty of variety and different levels of aggressiveness and saturation. We have soft light which are very subtle, pretty colors that are slight, that you drop on your video. You get a slight hint of color. We have hard light, which is the opposite of soft light, which is more aggressive and a lot more color. A lot more saturation and a lot more movement, and gradient which is a combination of like colors and carefully selected colors that you can drop on top of your video, and instantly change the look.
Let me jump on over to rampantdesigntools.com here. Real quick, and go down to studio light overlays, which is our optical light product. As you can see here, like I said, we shot it on the red. It’s 2K, 4K, and 5K. If you’ve already bought this product thank you. Like I always say, your my new bff. If you haven’t bought it, is okay. Go ahead and check the description of this video. I’m giving you three clips of every type of light overlays that we offer. Your getting nine clips, all in 4K, so you can follow along with us and you can take a look for yourself about the quality and really what it does to your video.
Alright, so enough of that. Let’s go ahead and jump into Premier Pro. Now before I go any further, I do need to make a note that you don’t need Premier Pro to use these products. They’re quick time based, so you can use it in any editor or compositing app that you like. Premier Pro is my personal favorite editor. [00:02:00] My wife, who’s the other half of Rampant, she’s loves Final Cut Pro. I know that’s kind of like a Michigan fan and a Ohio State fan living together, but we make it work. Anyway, I’m going to jump in here to Premier, and I’m going to show you exactly how amazing these light overlays can dramatically help you out, and it takes no time.
First off, let me just show you a scene that I cut together, that’s very much like any clothing commercial you see. Grocery store commercial, a bank commercial, any kind of family oriented spot. You see these all over the place, and you’ll actually see our elements in quite a few of national spots. You’ll see them in commercials, you’ll see them in music videos, there’s a title sequence for main television shows, network shows out there that use our overlays all the time. It’s a great way for an editor to immediately change and alter the look of the video, without spending a lot of time or resources. Like I say here, I’ve got this pretty cool edit, and it’s fine, and with some music and props a VO, it’s going to be great.
Again, I’m always looking for that extra little something that’s going to make this different. That’s going to make this pop, and I don’t want to distract from the message. That’s where these optical overlays come in. I’m going to start off with what we call soft overlays, like I talked about before. Like I said, these are quick time movies, so if I double click on here, and I just drag through, you can see there’s this nice little beam of light here. It’s not to distracting, so I’m going to go ahead and I’m just going to see which one do I want here. This is pretty cool, I want this one. I like this nice purple lighter colors here. I like it, it’s just pretty here. It kind of goes with the scene here.
As you can see, it’s like wow it just covered up my video, so what do I do? No problem you just double click on it, and go to effect controls, change the blend mode from normal to screen. That’s it, you done. Now you can dial in the opacity if it’s to much or two little for you. You can dial in the opacity. Maybe the director’s like it’s cool, but it’s a little much, so you just dial it in to where your happy, and your good to go. See, just real subtle. [00:04:00] now I need to make note here that this is a 4K image. Much larger than my HD timeline. What I can do is I can scale it down like so, and just reposition it and scale it to what I like, or if I don’t want to do that apple z, I’ll right click and say scale to frame size.
Now, if you want to use it as is, you just scale to frame size and you can go. If there’s a certain section of the frame that you like better than others, like you like the purple, but your not really hip to the white, that’s cool because it’s 4K you can reposition. I’ll show you real quick. I’ll take the scale to frame size off, which brings us back to 100% scale, and let’s just move this around a little bit. See, you’ve got plenty of room to move around, before you get to the edges of the frame. Go ahead and undo that real quick, then I’m going to go back to scaling the frame size. When I shot these, I shot them in a 16 X 9 format, and I really wanted to capture all the edges and make sure the lights come around the edges and really kind of bleed into your shot.
There you go. You’ve got this really great little look here, and I’m going to trim it up a little bit. It starts right around here. Boom, and I’m going to set up to my edit. There you go. First shot’s done. Cool. Alright, what about these next shots? Well, no problem, I’ll just grab some clips that I haven’t used yet, and bring them over. Again, it’s larger than the frame, so I’m going to go ahead and scale to frame size. Now when I was back over here on the original clip, on the original soft light clip, if I’m going to do a lot of these effects, I don’t necessarily want to go through double click, right click, or change the blend mode. What I can do, is I can go over here to opacity, and I can hit copy and then I can just go over to this other clip and hit paste.
Now it’s going to have the same blend mode attached to it. Same blend mode settings. Roll it back. Very cool. Now for my last one, I’m just going to once again drag it over [00:06:00] right click same scale to frame size, I’m going to cinch it up, and I’m going to hit paste so my blend mode is applied, and I’m going to roll through and there you have it. You’ve instantly stylized your video, with very little timing. If you were doing this on your own, and you weren’t listening to me yap on about it, it would probably take you ten seconds to do this. Again, you can work on specific kinds of blend modes your using, if your not happy with screen, and you want to do something a little bit more dramatic, you can go to add, or for Adobe Premier it’s linear dodge.
As you see, it really brings up the white, so if your working in broadcast always be careful when you dealing with that. We can go to overlay, which is pretty crazy here. Soft light. You can … I encourage you to play around with the blending modes, to get the look that your looking for. I typically use screen and adjusting opacity, to get exactly the look I want. Where I’m not distracting from the shot, but I’m adding to it. That’s the idea. We’re not compounding stuff on here. We’re not throwing a bunch of ingredients on to try to hide anything. We’re trying to make the production value of this go up, without having to spend very much money. The idea is to make your clients and your employers more happy with the end results.
There’s soft light. Now like I told you before, there are two other kinds of light effects in this volume. I gave you five hundred in this volume. I mean it’s an unbelievable amount of variety you get in this particular volume. Let me show you what it looks like with harder and radiant lights. Like I said, those are soft lights. I’m going to drag these over here in the timeline, and I’m just going to bring over a random hard light clip. Let’s look at this. As you see, it’s much more vibrant, a lot more saturated, and it’s slightly more aggressive of a move. It’s not an impact light of any kind. We have a volume called impact light, so if your looking for hard hitting and aggressive lights, you want to look at those.
This is just a little bit more of a movement, and a lot more vibrant of a color. Once again I’ll hit paste, because I got my blend mode in there. As you can see, a lot more color has been translated here. Maybe you know [00:08:00] for this particular spot, that’s a little much. We’ll just dial back to opacity, but maybe you like the color and the behavior of the light. See there you go. That’s hard light. Then the last to show you is the gradient lights. Same kind of deal, we go ahead and right click and go scale to frame size so you can see it. Here we have these multiple colors, or these nice gradients. You got some blue, you got some nice purples, and you got a little bit of white.
These were all carefully selected but once again shot optically, so you get the combination of real light behavior with some beautiful color that you can add to your scene. Once again I’ll hit paste, so you can see through it, and check that out, this is what I love about optical lights. You’ve got your nice purple here, you got your blue here, and your white here. You can dial it down just a little bit, but now you got this beautiful sense of color here right in the middle of your shot. You can even use it … That worked out great as a transition. Which is a nice added bonus. It actually worked well going from one shot to the next.
As you can see, with very little effort, using a quick time overlay file, you can dramatically alter and upgrade the look of your video, with no effort and very little upfront cost. Let me show you some other examples here. While these wipe on, you can see that this is generic stock footage. You can see that no matter what kind of video your working with, whether it’s corporate, PSA, weddings, commercials, spots, music videos, whatever it is your working on, you can add a little bit of texture and a little bit of character to the scene, without distracting from you message. This is not designed to be like whoa! You know, this is very much a little bit of spice your adding on top a meal that you’ve prepared kind of thing.
That’s about it. This is pretty simple. It doesn’t get any simpler than literally taking a quick time movie, dragging it on top of your files, and on top of your timeline I mean, and changing the blend mode, and then just dialing back the opacity if it’s a little much. [00:10:00] Of course, because this is 4K, we’ll scale to frame size, roll it back, and it looks great. It looks like that light effect was in camera. That’s ultimately what you want. That’s why we shoot everything optically. That’s about it. Thanks for watching. If you have any comments, questions, or tutorial requests, hit us up on Twitter at Rampant Design, or check us out on Facebook at facebook.com/rampantmedia. Of course, you can find more tutorials at rampantdesigntools.com. Until next time, I’m Sean Mullen from Rampant Design Tools. Thanks for watching.
[/toggle]
